Installing the AppyAds Plugin
Installation of the AppyAds WordPress plugin can be accomplished in one of two ways:
- By searching and installing from the WordPress plugins directory
- By downloading the plugin to your computer, then uploading it to your WordPress site
Installing from the WordPress Plugins Directory
From the WordPress administration panel, go to the Plugins section. Select Add New and search for AppyAds. If the listing for AppyAds is revealed in your search, you should also see an Install button within the AppyAds plugin that shows in the search results. You can click that button, which will install the plugin. The button will then change to an Activate button, which you can click to activate the plugin.
Installing by Downloading & Uploading to WordPress
First, download the AppyAds plugin package and save it to your computer.
Next, log in to your WordPress administration and go to the Plugins section. Select Add New and then on the next page, select Upload Plugin at the top of the page. An area should appear that allows you to Choose File from your computer. Find the appyads.zip file that you just downloaded and select that to be uploaded to WordPress. Once uploaded, you can activate the plugin.
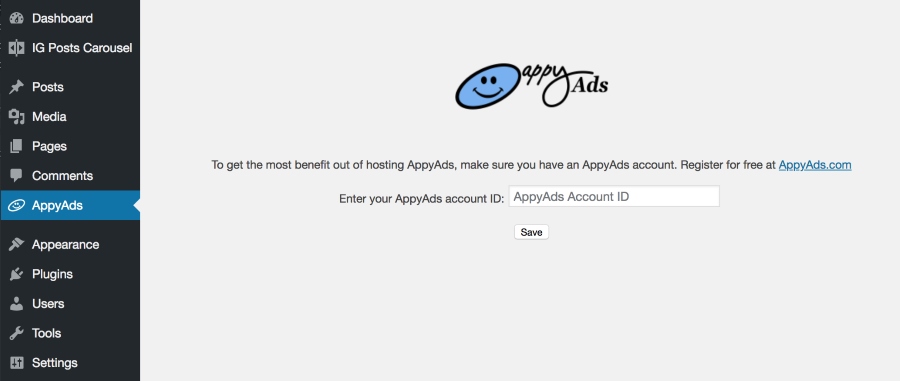
After you’ve installed and activated your AppyAds plugin, you will see the AppyAds menu option on the left side of the WordPress administration panel.

Setting Your AppyAds Account ID
If you have an AppyAds account ID and you’ve set that account to publish AppyAds, you should set your AppyAds account ID in the AppyAds WordPress administration panel. You can find your AppyAds account ID on your member home page at appyads.com.
Placing AppyAds
You can place AppyAds on your webpages using:
- AppyAds Widget – Inserts AppyAds into sidebar or footer sections
- AppyAds_Placement Shortcode – Inserts AppyAds into any Post or Page
AppyAds Widget
The AppyAds Widget makes it super simple to include an AppyAds ad into your sidebars. All you need to do is drag and drop the AppyAds widget into the sidebar/footer section you desire. Then select the size of the AppyAds element from the selection dropdown menu and Save. Note that currently, only one of each size is permitted on any single web page.

AppyAds Shortcode
Another way you can include an AppyAd ad into your webpage is by using the AppyAds_Placement shortcode. When you are using the WordPress administration panel and editing a post or page, you can insert the short code as follows:
Note that you will want the WordPress editor to be in Text mode. If you leave it in Visual mode, the shortcode may not be interpreted correctly by WordPress.
The values you use for the size parameter must be one of the following, otherwise the placement will default to 180X60:
- 160X80
- 160X160
- 160X600
- 180X60
- 180X180
- 300X250
- 300X600
- 728X90
- 764X400
- 970X90
- 970X250

 Follow on Twitter